Getting Started with Actions
Automate mundane tasks to free up engineering resources in your organization.
Actions allow developers on your team to self-service on routine production operations directly from OpsLevel.

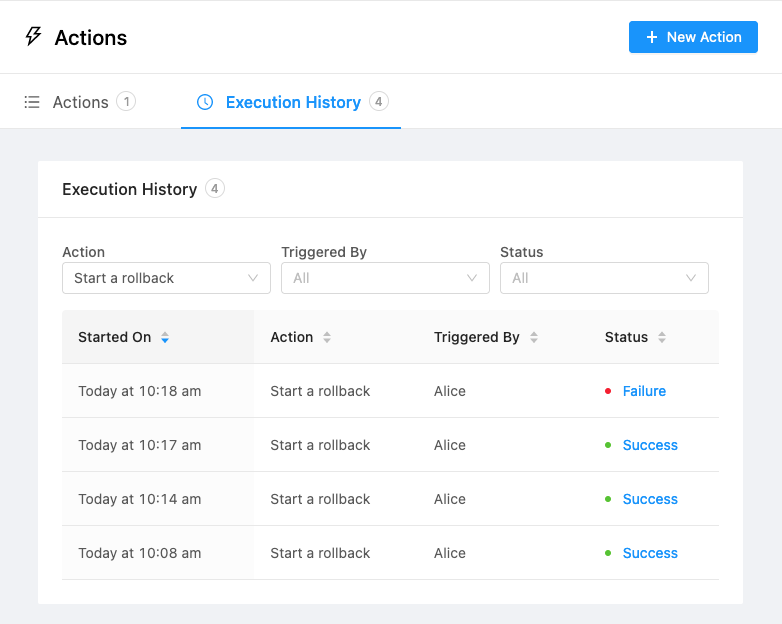
Example action to rollback to a specific commit.
With Actions, developers can:
- Provision or resize infrastructure
- Request time-limited escalated tokens/permissions
- Provision a new Kafka topic
- Send a structured Slack message
- Trigger an incident in a tool like PagerDuty or Opsgenie
- Open or merge a pull request
- File a new issue or ticket in JIRA
- Lock or unlock deploy pipelines
- Rollback the last deploy
- Kick off any CI pipeline
Actions are built using generic webhooks which makes them incredibly flexible. They can integrate with any system that exposes a public API.
Webhooks, triggered by a developer invoking an action, can contain context/metadata from an OpsLevel service and its related entities, or other data specific to the action that is manually entered by the developer.
Using Actions
Users can find and trigger actions from individual Service pages or from the Self-Service Actions page. When a user interacts with an Action, they can be as simple as a single click or they can prompt the user for additional details before triggering the action. After the action completes, users are provided immediate in-context feedback which can be formatted to include specific messages crafted by the action owner using Liquid templates.
Using Actions on the Self-Service page
To get to the Self-Service Actions page, press Self-Service > Actions in the OpsLevel navigation menu.
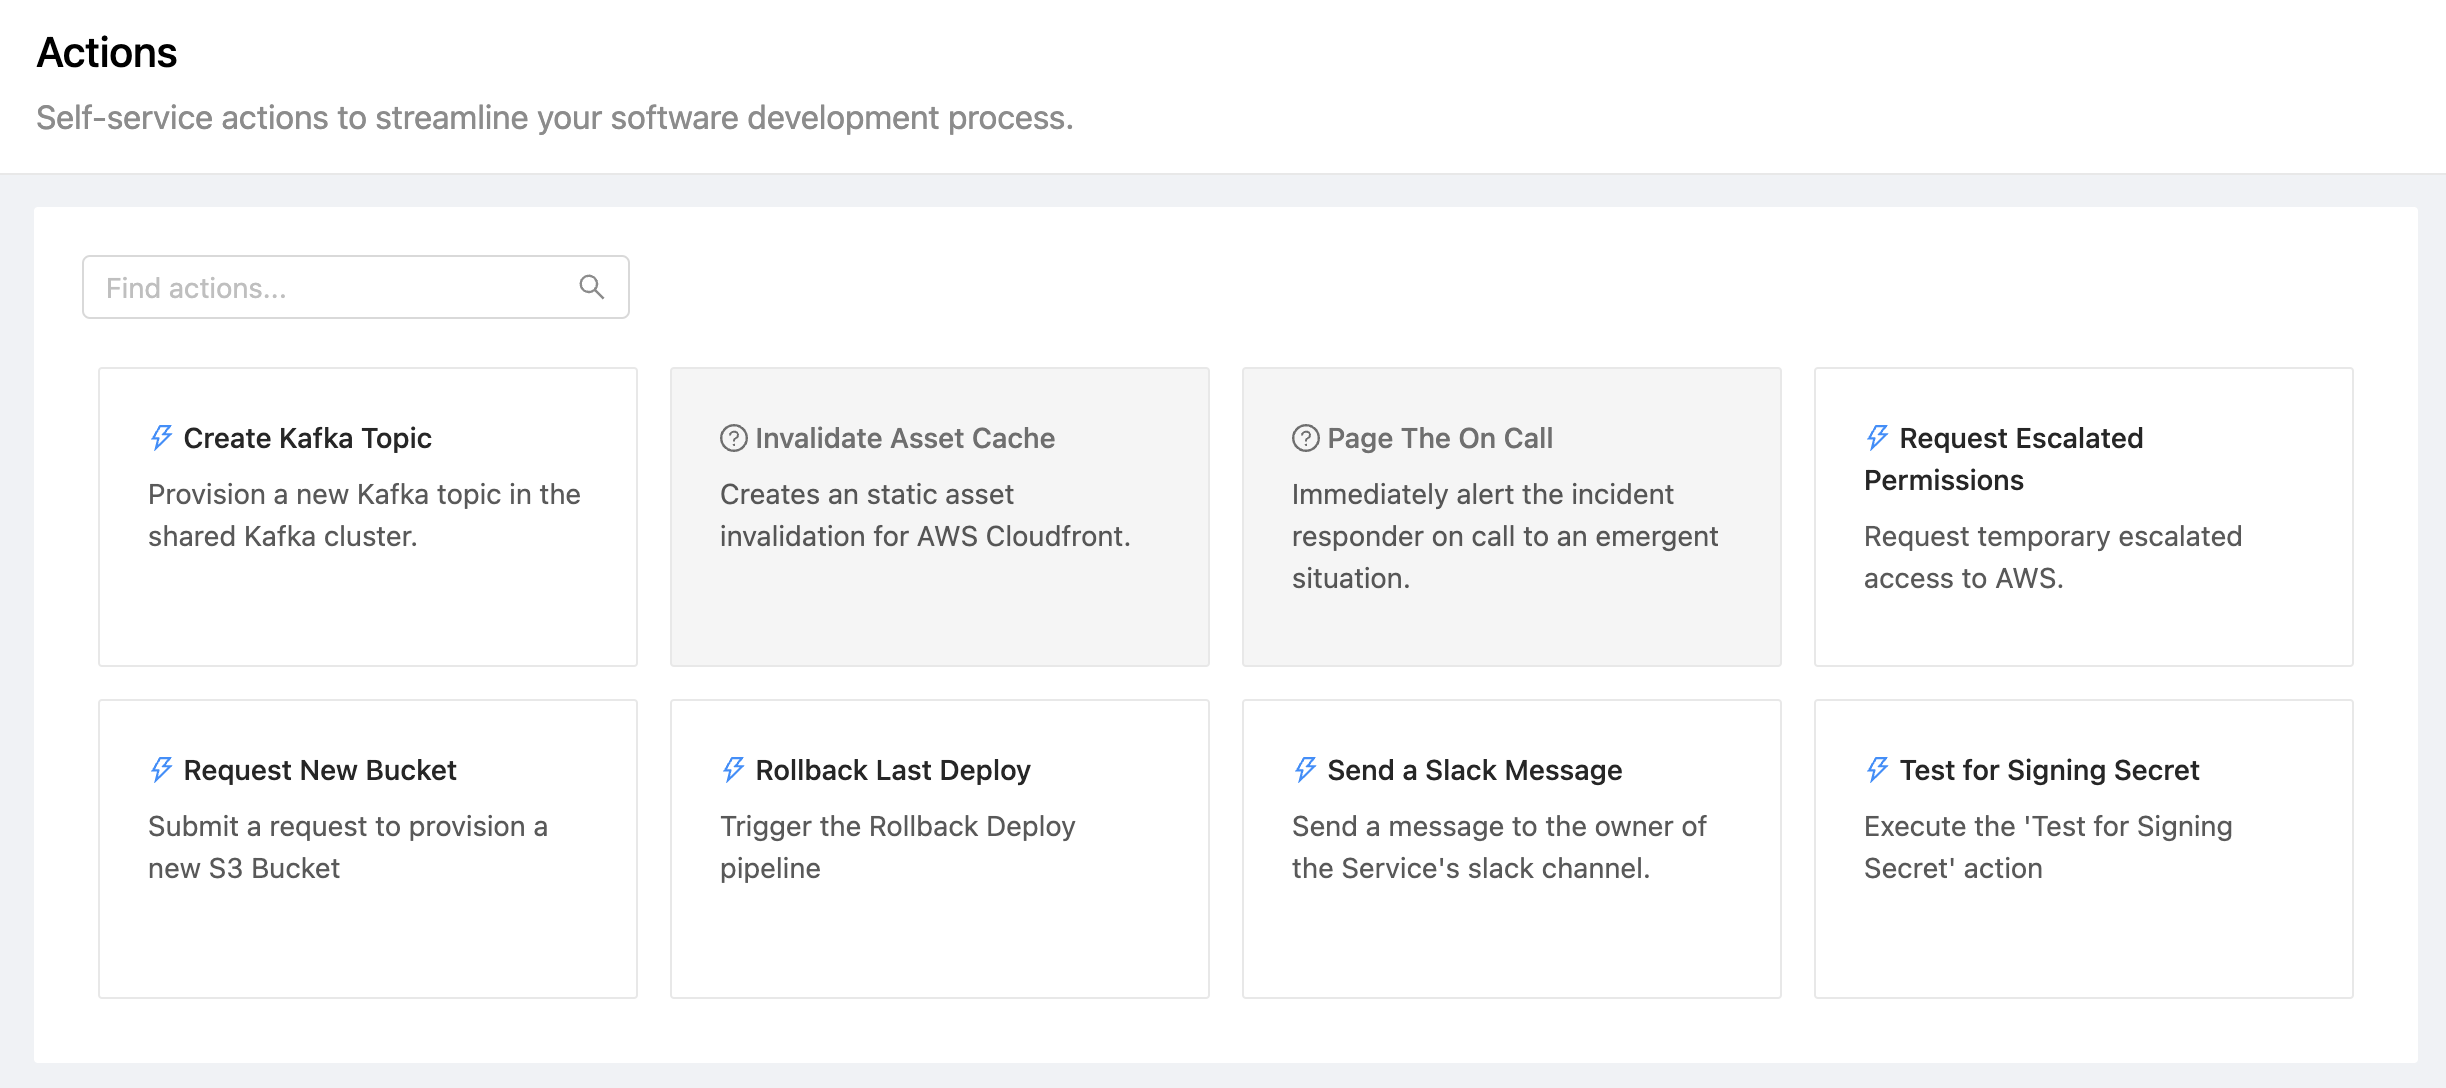
After selecting a card, the user will be prompted for any additional details
Note: While users are able to see all actions available in the account, administrators can control who is allowed to execute each action. If a user is unable to execute an action, the action card will be disabled and prompt the user to reach out to the action's owner to gain access.
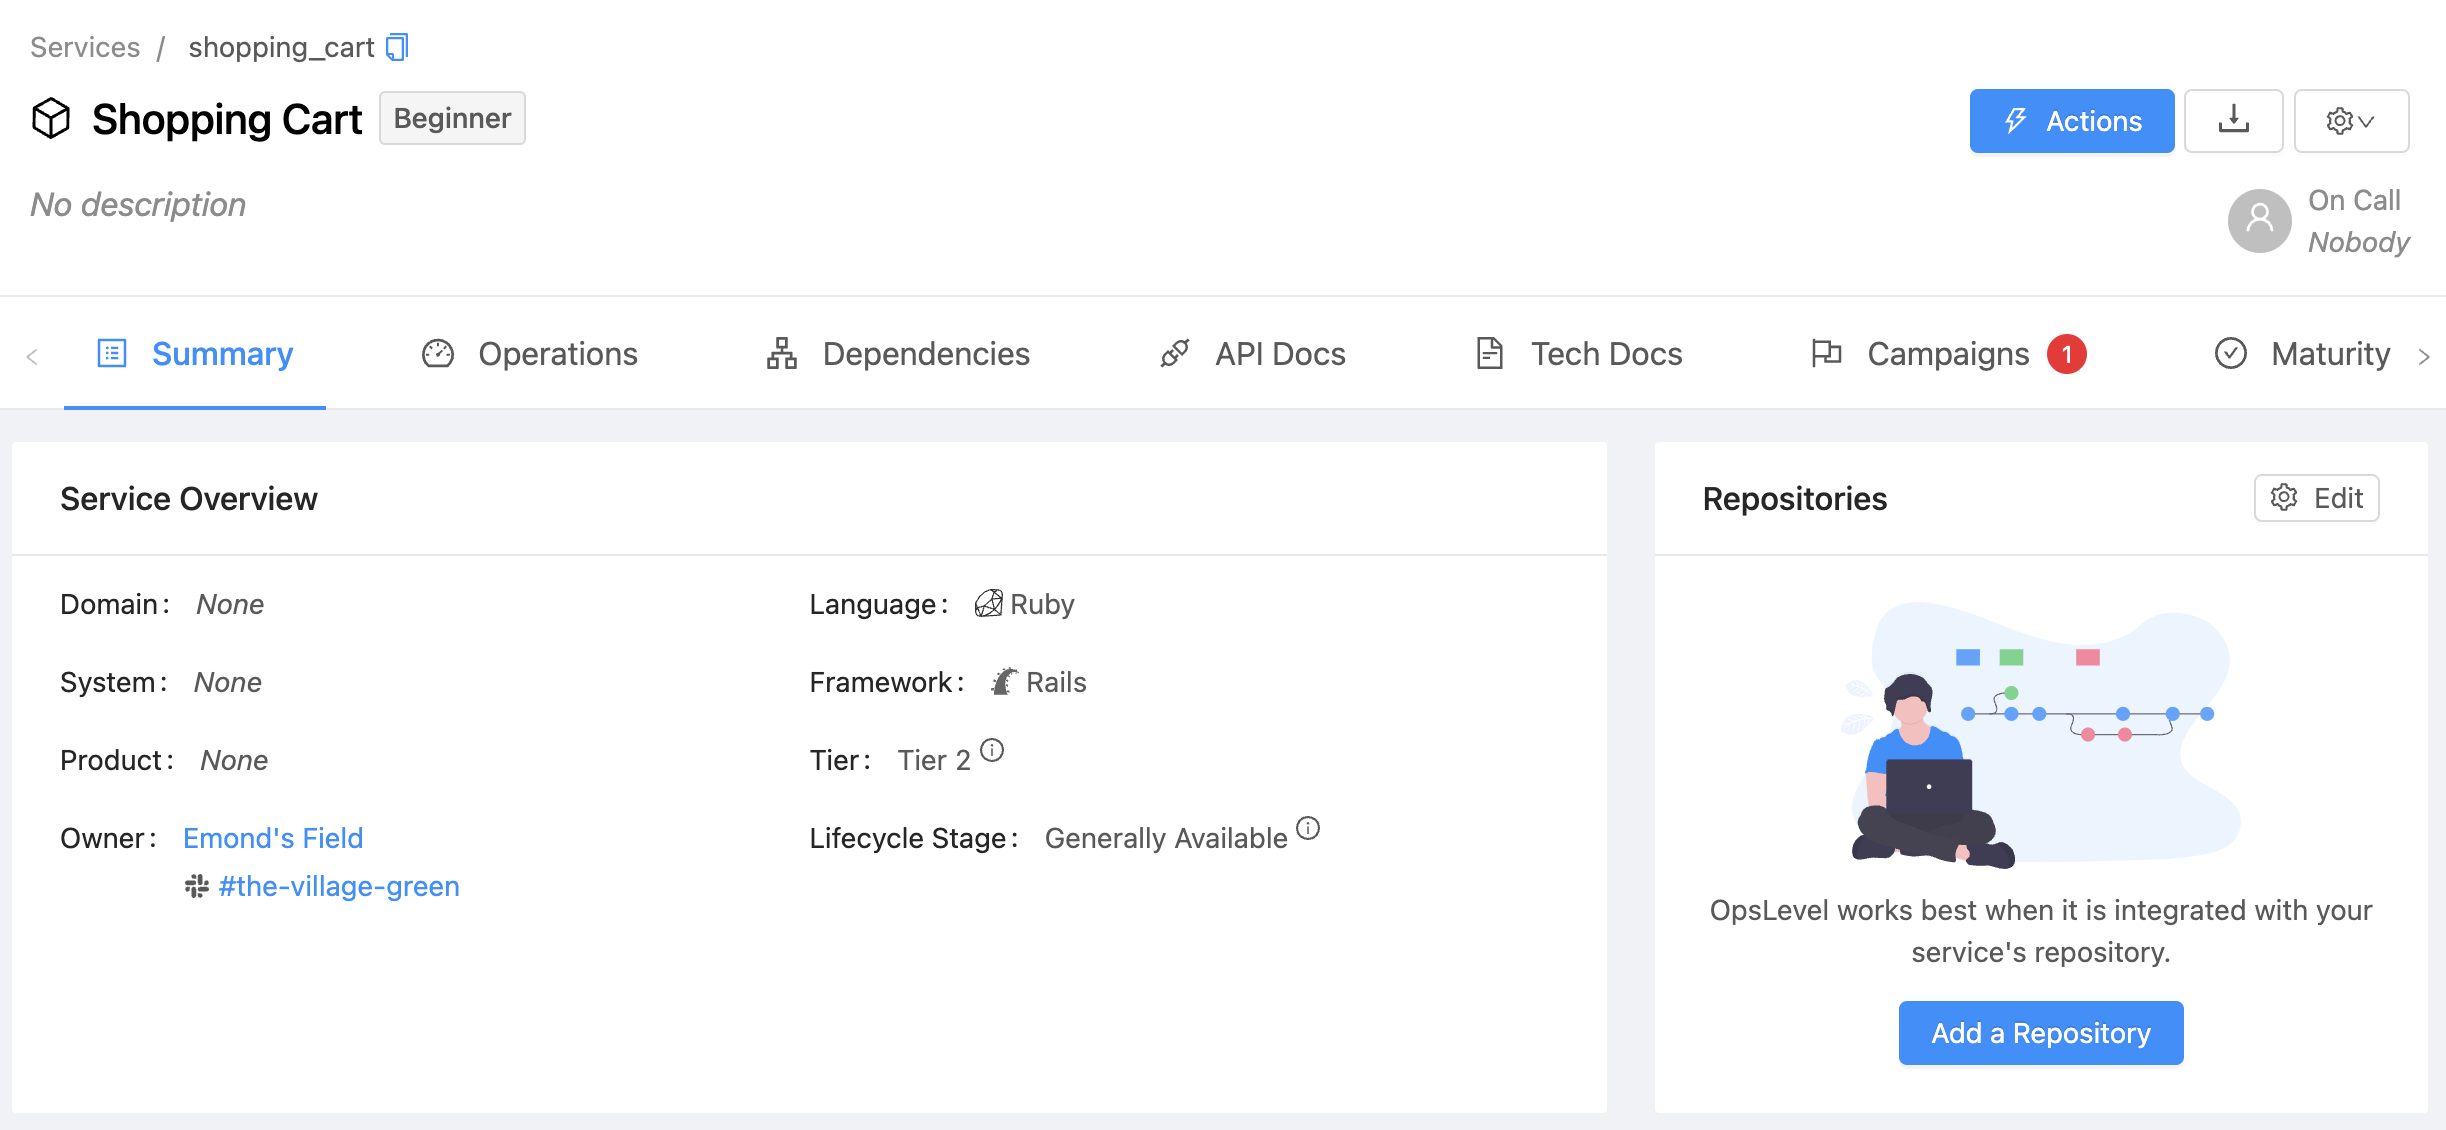
Using Actions from a Service page
When a user is on a Service page, they can find the actions available to that Service by pressing the Actions button in the top-right of the page.
After pressing the Actions button, a drawer will appear in the right half of the screen with all actions that are available to be executed against that Service. To find actions that do not apply to that service, the user should navigate to the Self-Service page.
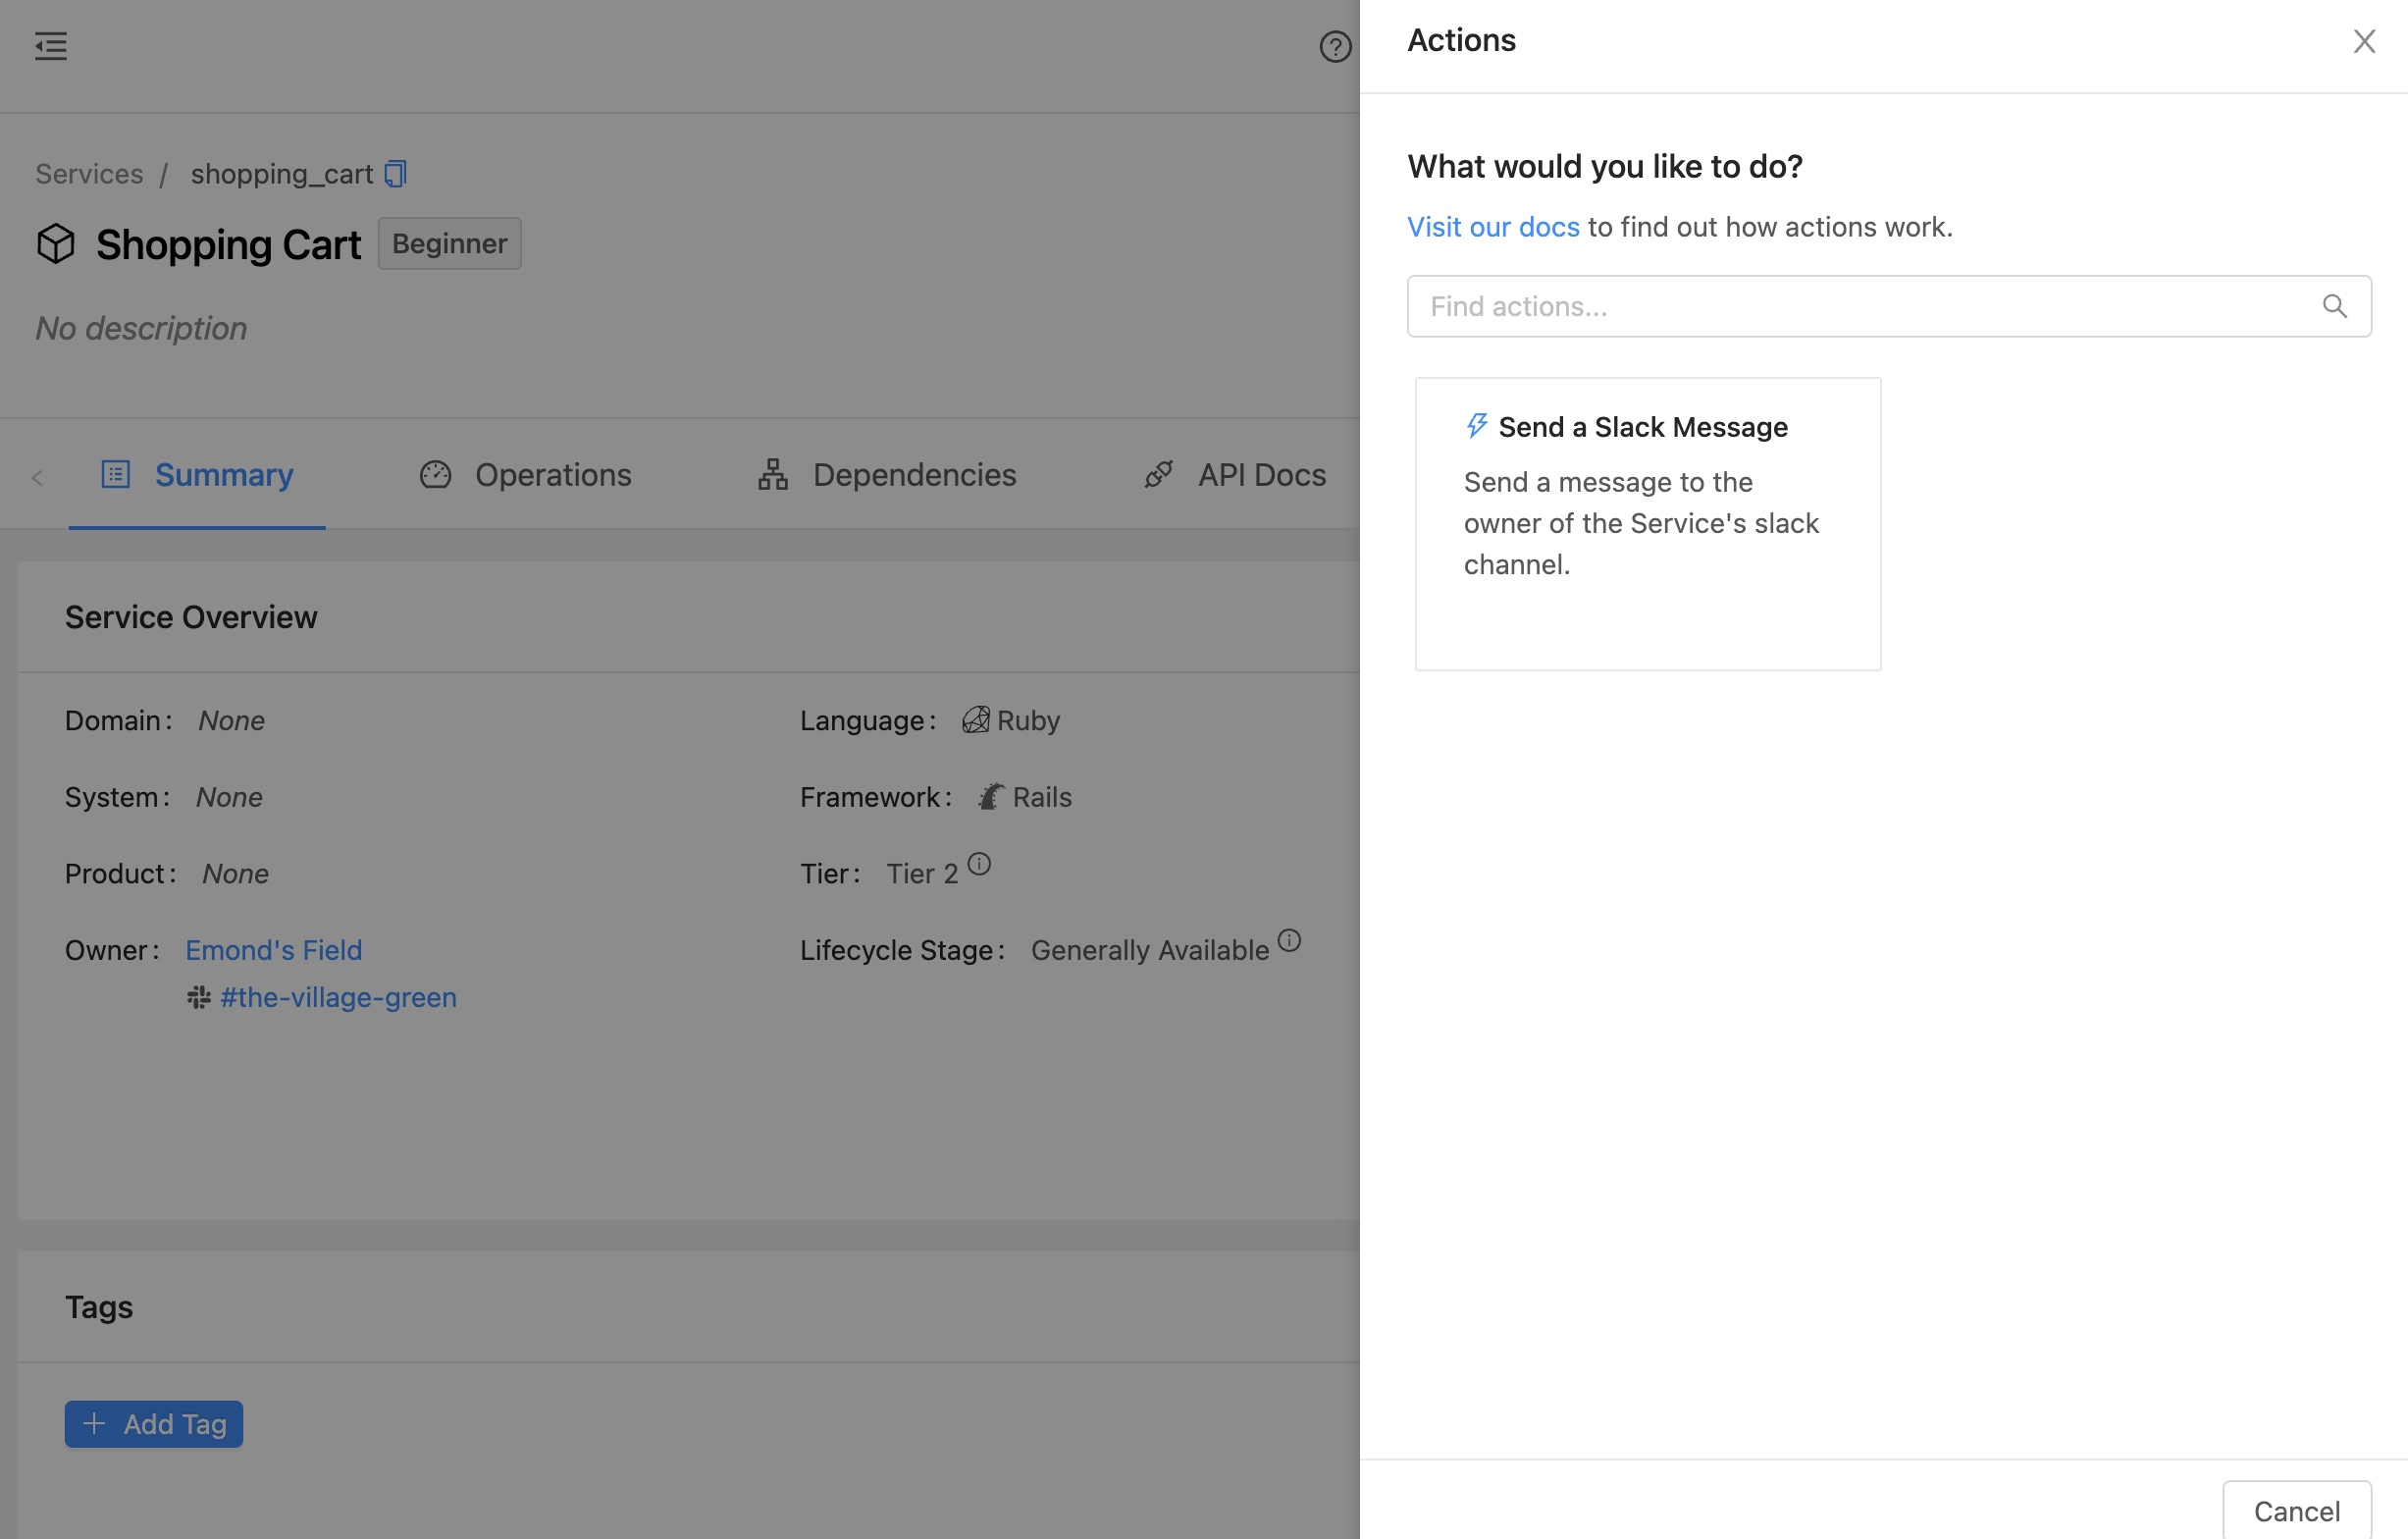
After selecting a card, the user will be prompted for any additional details that the action requires before executing the action and sending the webhook.
Note: While users are able to see all actions available in the account, administrators can control who is allowed to execute each action. If a user is unable to execute an action, the action card will be disabled and prompt the user to reach out to the action's owner to gain access.
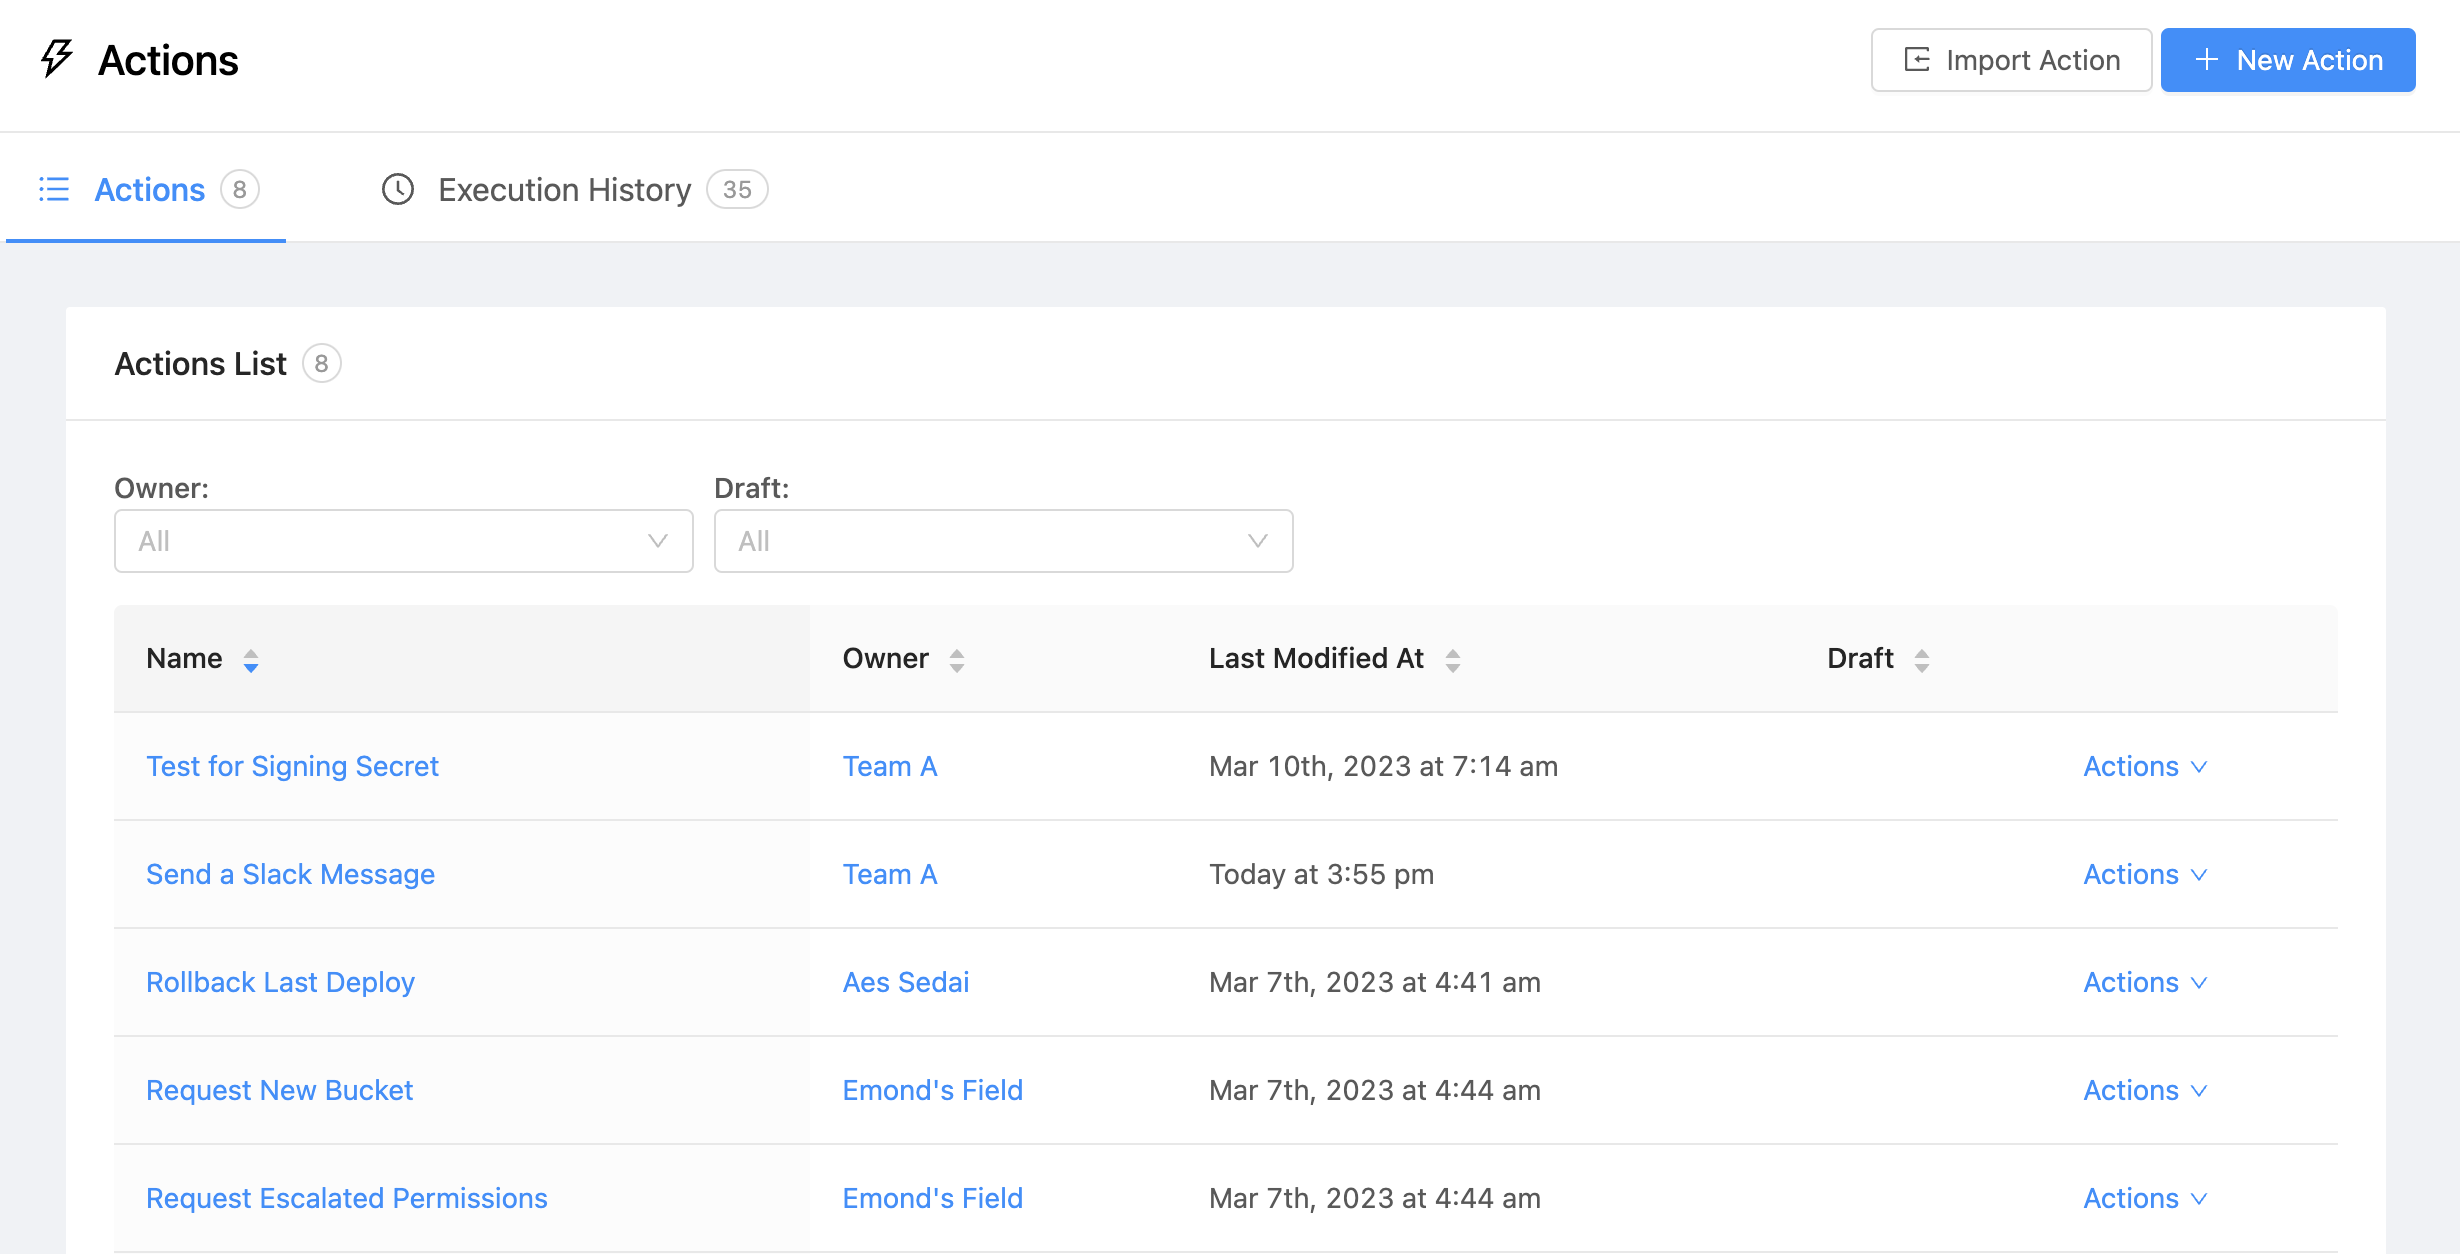
Managing Actions
Admin users are able to create and debug actions by navigating to the Settings > Manage Actions.
Debugging and auditing Actions
Admin users are able to easily debug and audit an Action’s usage history which includes the details entered by the triggering user and the HTTP response received by OpsLevel.
Securing Actions
Signing and Verifying Webhooks
OpsLevel supports using a shared secret to sign webhook requests and assign an X-OpsLevel-Signature header. For details on how to configure and verify Webhook Signing, review our guide here.
Stop replay attacks using OpsLevel's Timing header
OpsLevel adds an X-OpsLevel-Timing header to all requests which holds the time that the request was sent in epoch format. You can use this header to ignore requests that are slow or out-of-date by comparing it to the current time with a specified tolerance. This is also an effective way to avoid replay attack vectors.
What's next?
Learn how to create and configure Actions.
Updated 7 months ago