Slack + Self Hosted OpsLevel
This integration requires that your Self-Hosted OpsLevel Instance is available to receive requests over the internet from SlackThis integration relies heavily on webhooks, so for the full experience your Self-Hosted OpsLevel instance must be accessible to Slack.
If you use Slack and would like to use Slack with your self hosted OpsLevel application you will need to create your own Slack App.
Create a Slack App
Before you start creating your app, you should copy the Slack Application Manifest below and then replace all references to {{Self-Hosted OpsLevel Instance}} with the publicly accessibly domain for your Self-Hosted OpsLevel instance. Keep the updated manifest JSON handy for step 5 below.
Slack Application Manifest
{
    "display_information": {
        "name": "OpsLevel",
        "description": "Access your IDP and get notified without leaving Slack",
        "background_color": "#0a53e0",
        "long_description": "With the OpsLevel App for Slack, you can have all of your OpsLevel service metadata and toolchain links at your fingertips. Searching your catalog and collaborating with others while troubleshooting operational problems is now easier and faster.\r\n\r\nSimply run our /opslevel Slack commands to search for services and bring the context you need directly into your chatops workflow.\r\n\r\nOur app also ensures OpsLevel has accurate team membership and Slack channel info, keeping your service catalog up-to-date."
    },
    "features": {
        "bot_user": {
            "display_name": "OpsLevel",
            "always_online": true
        },
        "slash_commands": [
            {
                "command": "/opslevel",
                "url": "{{Self-Hosted OpsLevel Instance}}/integrations/slack/webhook",
                "description": "Query OpsLevel for information about your microservices.",
                "should_escape": false
            }
        ]
    },
    "oauth_config": {
        "redirect_urls": [
            "{{Self-Hosted OpsLevel Instance}}/integrations/slack/finish_setup"
        ],
        "scopes": {
            "bot": [
                "channels:read",
                "chat:write",
                "chat:write.public",
                "commands",
                "im:write",
                "mpim:write",
                "team:read",
                "usergroups:read",
                "users:read",
                "users:read.email"
            ]
        }
    },
    "settings": {
        "event_subscriptions": {
            "request_url": "{{Self-Hosted OpsLevel Instance}}/integrations/slack/events",
            "user_events": [
                "app_uninstalled",
                "tokens_revoked"
            ],
            "bot_events": [
                "app_home_opened"
            ]
        },
        "interactivity": {
            "is_enabled": true,
            "request_url": "{{Self-Hosted OpsLevel Instance}}/integrations/slack/webhook",
            "message_menu_options_url": "{{Self-Hosted OpsLevel Instance}}/integrations/slack/webhook"
        },
        "org_deploy_enabled": false,
        "socket_mode_enabled": false,
        "token_rotation_enabled": false
    }
}
To create your Slack App, follow these steps:
- Navigate to Slack's Apps page
- Click the Create App Button
- Choose the From an App Manifest option
- Choose a Workspace to test your Application in (Your OpsLevel instance can only hook up to a single workspace per account at a time, but this can be overwritten in the future).
- Paste your Slack Application Manifest and complete the App creation process.
- Once on the Basic Information page, scroll down to the App Credentials section and copy the following settings for use in the Replicated Admin portal:
- Client ID
- Client Secret
- Signing Secret
- Verification Token
OpsLevel's KOTS Admin Console
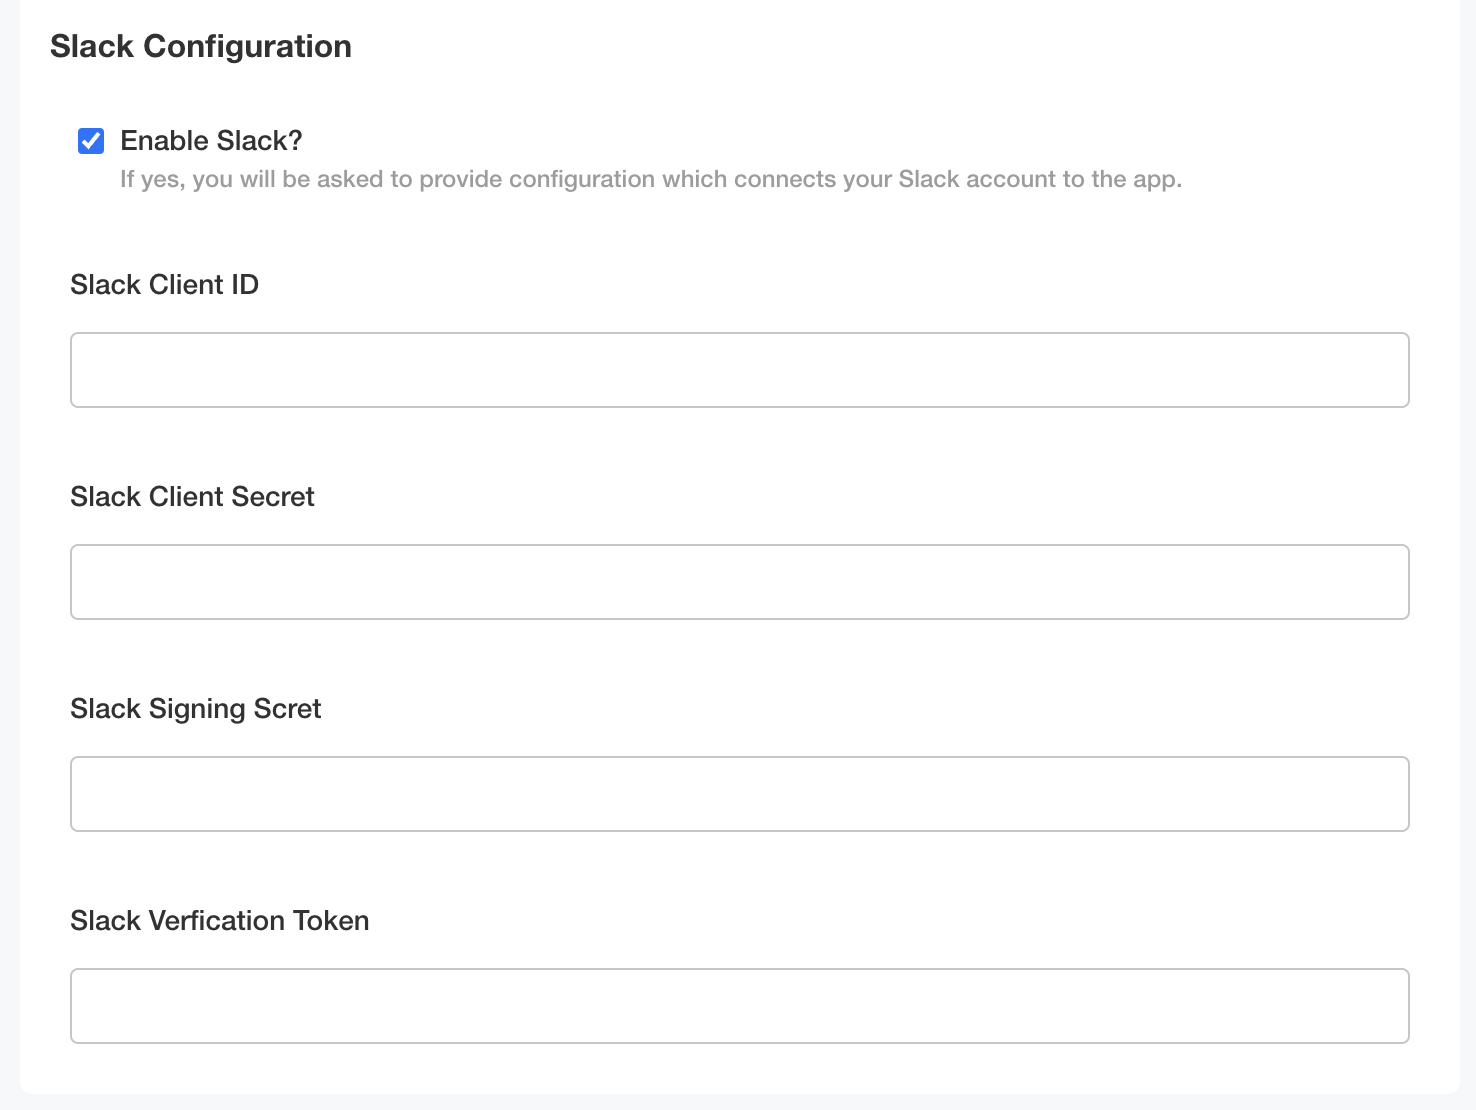
In your Self-Hosted OpsLevel Config, navigate to the Slack Configuration Section.
Using the values you copied from Step 6 above, enter the four values before saving and deploying your new configuration.

Setting up the Slack Integration
Now that the application is configured, you can follow the steps outlined in the Slack integration guide to complete the integration setup.
Updated 2 months ago
